Morning all.
If you've been reading
Bev's blog posts over the last week or so, you'll know that she has released a few brand new Christmas inspired stamps and also some dies, some to coordinate with existing stamp sets and some to stand alone.
So as is tradition we are having a blog hop and giveaway, YAY!
So comment here before you hop along to the next stop for a chance to win and get some Christmas Uniko inspiration as you go. You know it's never too early to start those Christmas cards!
So grab a cuppa and settle in 'cos this is a long post!
My first card uses a stencil launched last year and a brand new large die cut snowflake. I spent many years looking for a large die so Bev has answered my prayers!
First I took a panel of white card and stencilled around the edge with Salty Ocean DOx and the 'Let it Snow' stencil. I started off pale and increased intensity as I went around. I also added a light colouring of the ink closer to the centre to take away the whiteness of the card. When dry the different layers give a sense of depth.
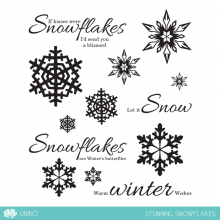
I trimmed the panel to just a shade smaller than an A6 base card and edged the cut edges with a little Salty Ocean DOx. Centring the die, I cut the snowflake but was careful to keep the small cut outs for replacing later. The inked and die cut panel was glued to an A6 white base card and then a blue fun foam snowflake was added back into the opening, adding back the small diamonds from the first die cut. The snowflake was then glued over the fun foam one, matching the pattern. My sentiment is from an older snowflake set, Stunning Snowflakes, stamped in black onto a white panel.
My second card uses Background Blocks- Scandinavian Christmas and Winter Foliage stamps and matching dies.
To start I stamped the BB Scandinavian Christmas and heat embossed with white EP, then cut a circle from it with a die. I inked this circle with Salty Ocean DOx, keeping the ink darker towards the edges. To darken the edges further, I added some Blueprint Sketch DOx to the very edge.
On a separate piece of white card, I stamped the evergreen bough from Winter Foliage twice in Altenew Olive, adding further contrasting green with my Zig pens before die cutting with the matching die.
From a scrap of matte silver card, I cut an ornament hanger and attached it to my inked circle, then threaded it with some silver chord and added a silver bow.
I arranged the foliage branches in the top left of my base card, added my 'bauble' on pads and stamped a sentiment from Festive Sentiments in blue.
My third card uses the new Winter Foliage stencil and the gorgeous poinsettia from Season of Beauty.
For the background panel I used the trapped colour technique, inking through with Versamark onto a panel of W/C card inked with Antique Linen DI, embossing with clear EP then washing away the DI with a paper towel and water.
The poinsettia and leaves from Season of Beauty, were stamped then fussy cut with a few dots of glossy accents in the center, a banner sentiment completes.
My next card uses Winter Foliage stamps and dies, the new Festive Sentiments Outlined as well as Christmas text from Season of Beauty and other festive sentiments.
Using my MISTI, I arranged the sentiments to cover an A6 panel before stamping on red card and embossing with clear EP. The white panel was cut using a border die before the foliage and sentiment were stamped. The pine cones from Festive Foliage were stamped and die cut and slipped under a wrap of jute twine. The white panel was then popped up on pads to complete.
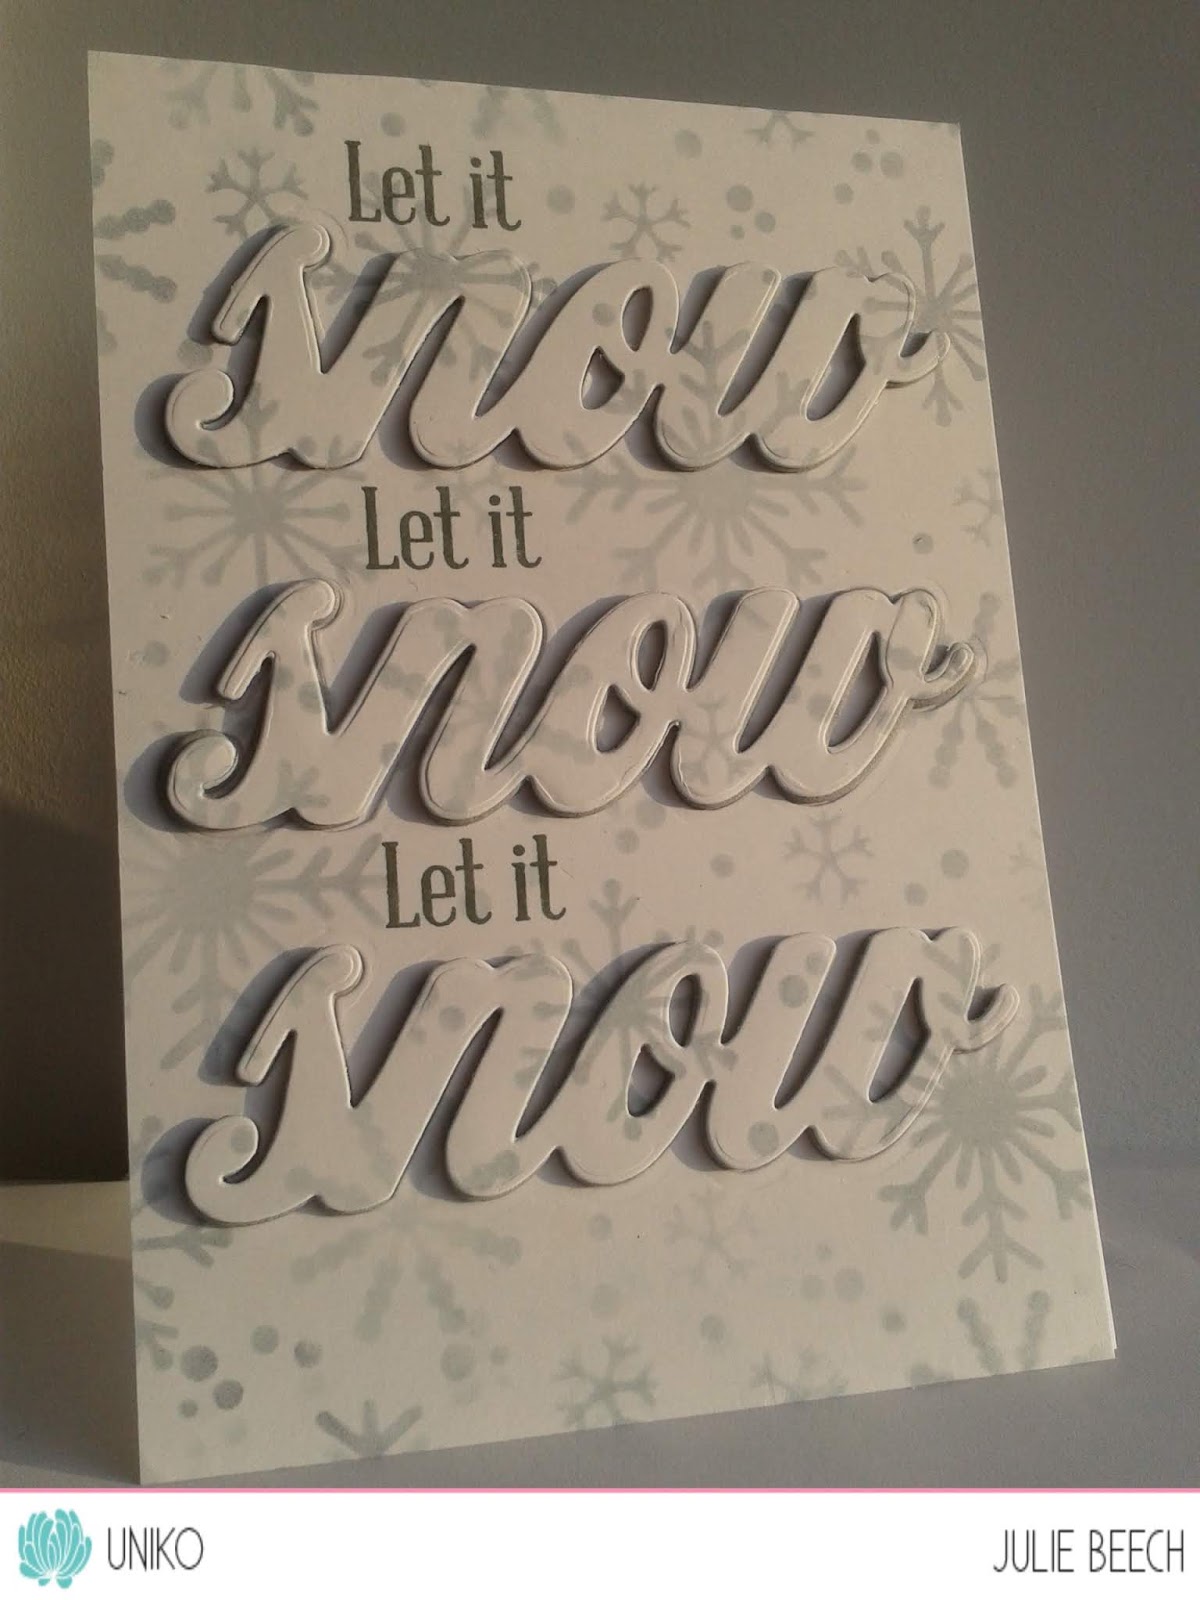
Finally, I've used the new dies Big n Bold Snow, with the Let it Snow stencil and Big n Bold Snow sentiment 'Let it'.
Using the stencil, I inked Weathered Wood DI with varying levels of intensity over a panel of white card, then cut three of the snow words from it, I used grey fun foam to cut three more snow words and stamped the Let it in dark grey ink. The main panel was glued to an A6 white card base, gluing the inked and foam words together but retaining the small inked bits to one side. The popped up words were glued in place and the retained bits popped flat into the appropriate spaces to complete the look.
And breathe, told you it was a long post!
Now you can check out the rest of the team's inspiration, but you may need to refresh that cuppa!
Be sure to comment along the hop for your chance to win the ENTIRE Release! You have until Midnight GMT 2nd November 2019 to leave a comment and a winner will be announced shortly after.