Good morning.
As promised today sees the introduction of the first of Uniko's January 2025 release.
This new stencil is based on the Craft Stash release of a year ago but in stencil format.
Here's my first card idea channeling an idea I saw on Pinterest here.

I used the 4 part stencil to create a panel on a piece of A5 white card, before cutting out part of the panel with a rectangle die. I'll use the leftovers for another card. Using the blending brushes I'd used for the inking part, I carefully added a soft layer of the same colour over each element.
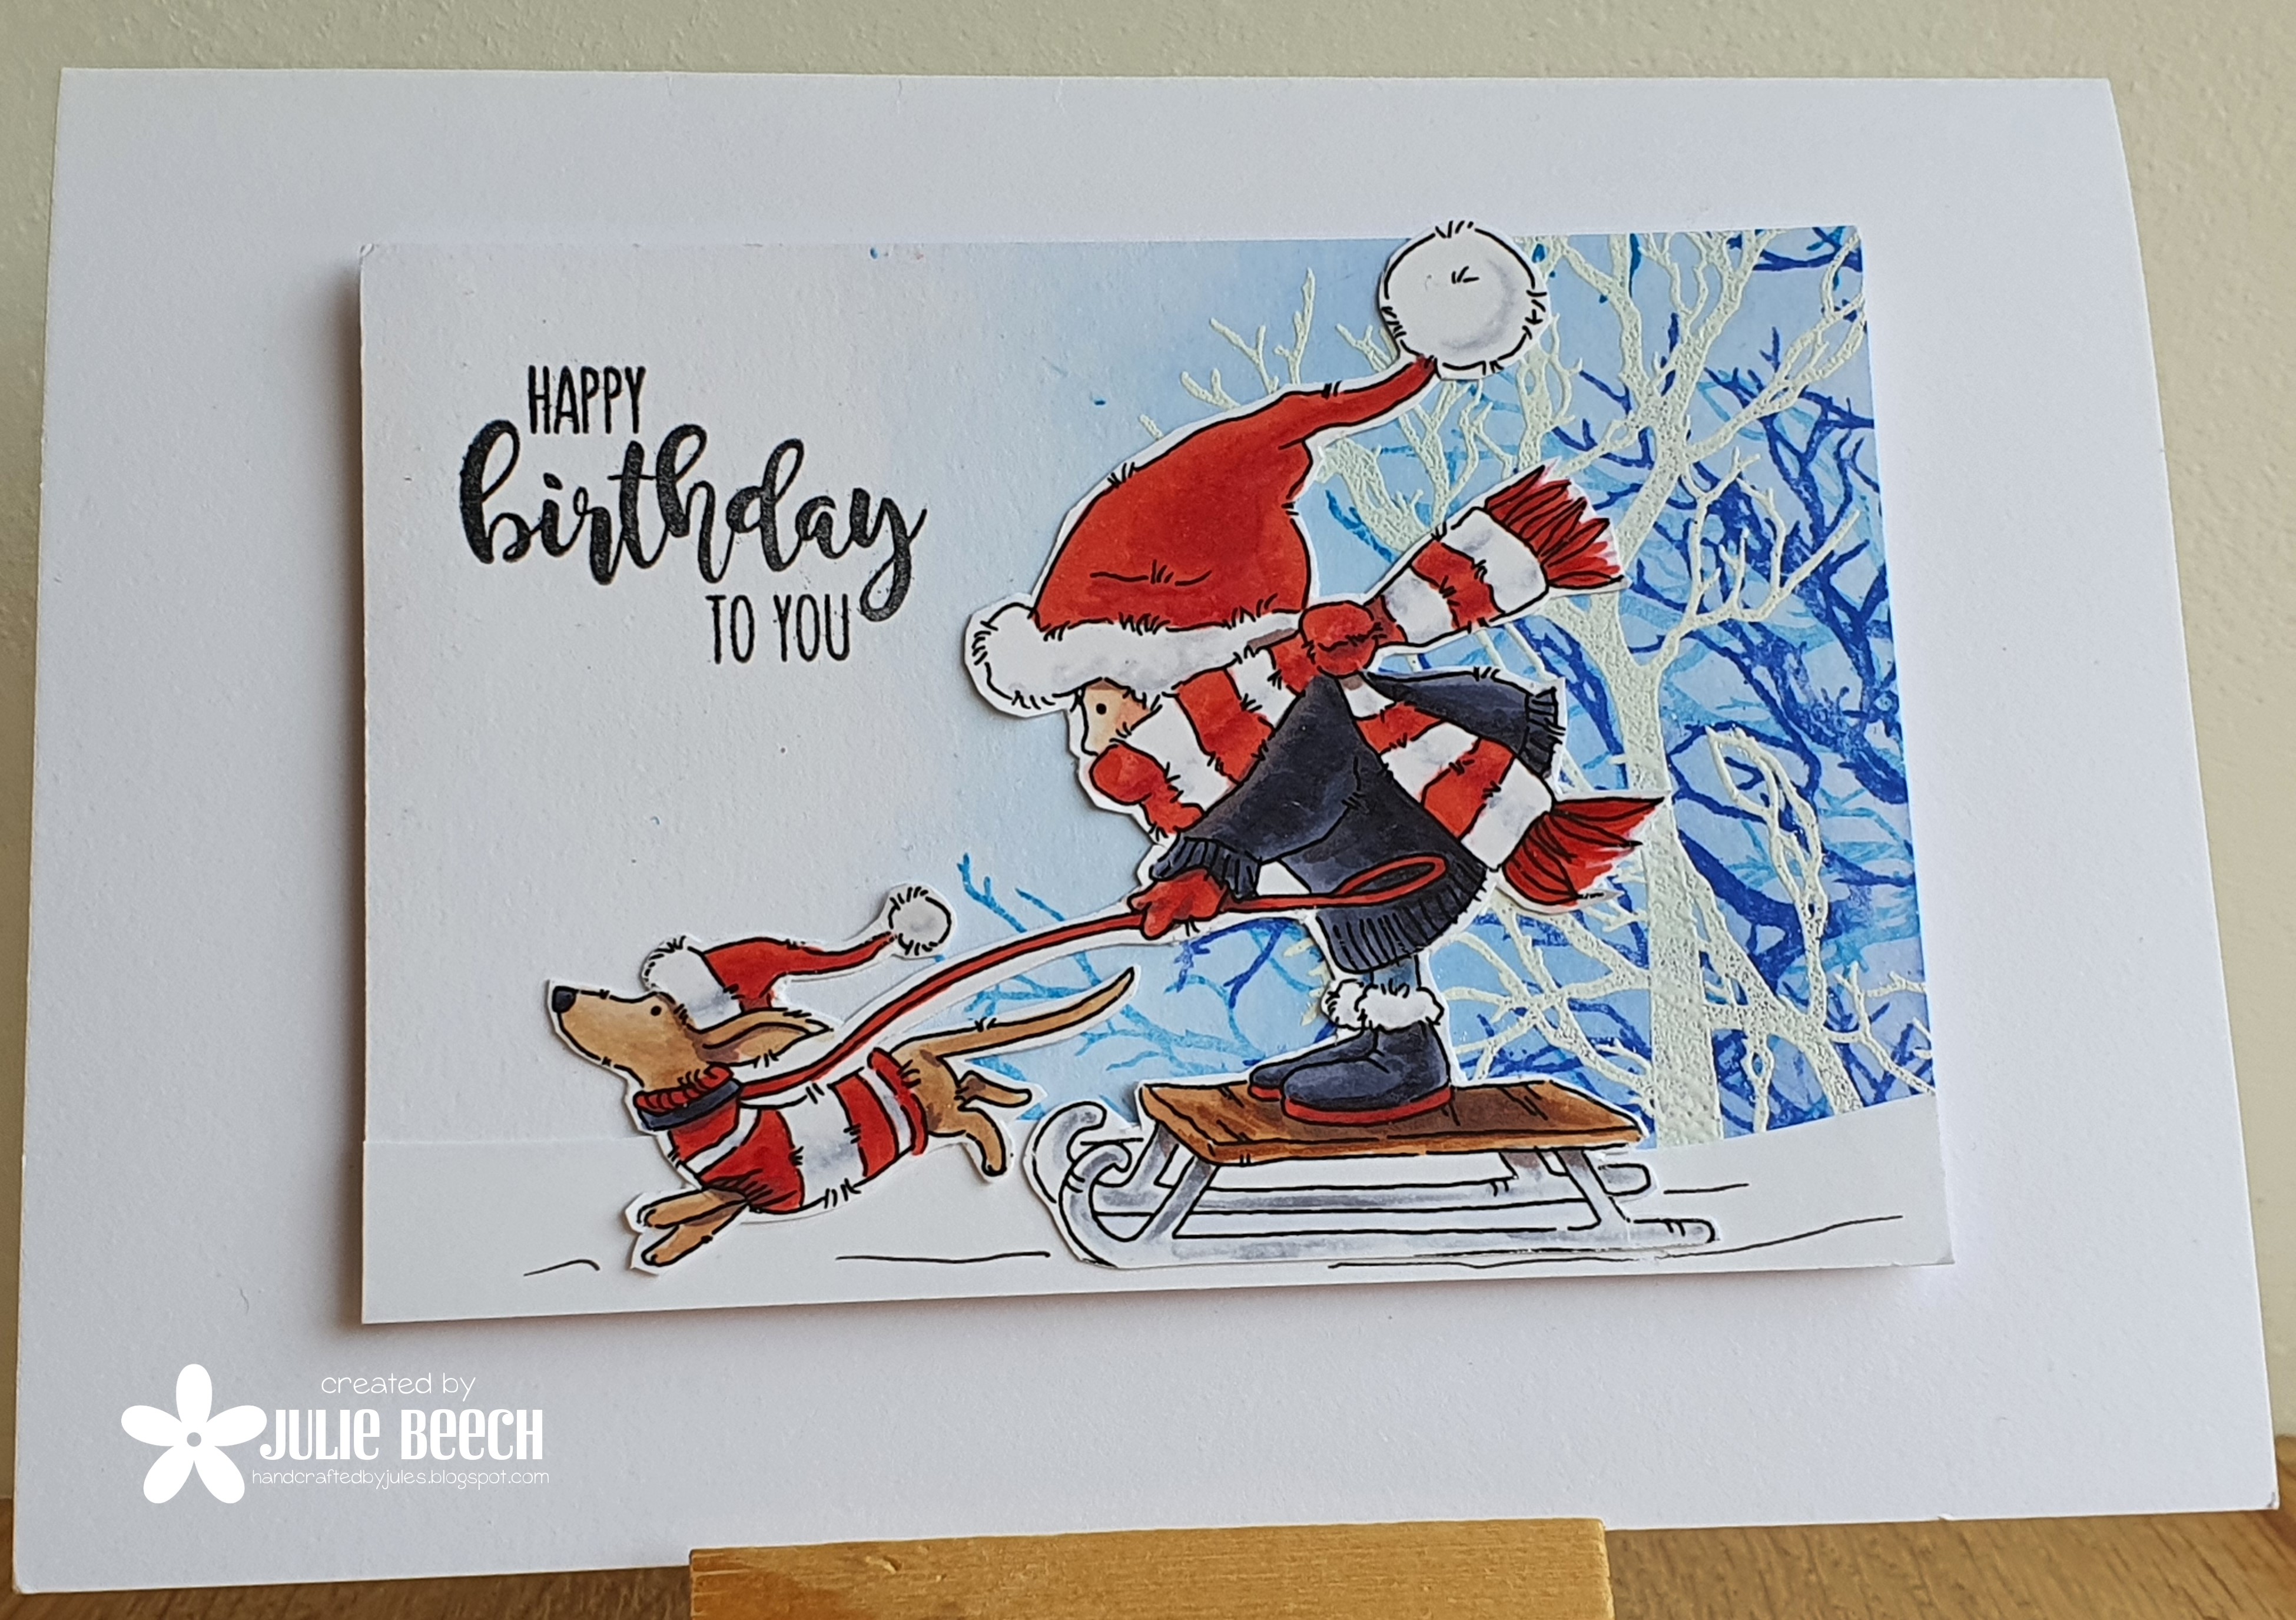
Next I stamped Happy from Christmas Sentiment in black followed by birthday from the Birthday Sentiments set. Using a white gel pen, I traced around the letters with a steady hand to make the black letters pop against the soft background. My completed panel was then popped up on pads onto an A6 top fold card base.
This next card used the Black Magic technique of white pigment ink on black followed by colour.

To start I used the four stencils to create a white on black image and left it to dry completely overnight. I then repeated the process using coloured inks. I trimmed the panel to leave a border on my A6 white base card and added a sentiment panel from my stash made using Doodle Flowers. I always make a batch of these whilst the stamps are in my MISTI, saves a lot of time. The hi lights on the flower centers didn't show up too well so used a gel pen over the top.
So two different looks using the same stencil but why not check out what ideas the rest of the team have come up with.


.png)


.png)


.jpg)


.png)
