Morning all, did you watch Glastonbury at the weekend?
Saturday we had our daughter and family minus eldest who was on Scout camp, over for a belated birthday tea, so no time then but I made sure I watched the Yusuf/Cat Stevens set on the Pyramid stage on Sunday. He might be 74 but he still delivers the old favourites with aplomb. It took me back to the early 70's, sat in my bedroom endlessly playing Teaser and the Firecat, Mona Bone Jakon, Tea for the Tillerman and Catch Bull at Four! His lyrics always had something to say and are as relevant now as they were then, but I digress!
As it's Tuesday it's time for a new challenge at Cardz4Guyz. This week our theme is:-
CLEAN and SIMPLE
My favourite style, though when I came to make my card, I struggled, so many ideas and nothing to pin them down! Anyway a quick squiz at some challenges out there brought me to this.

I used a layout from way back and the cute LOTV Jame's Peeking. After printing him off, don't get me started on the trials of our home printer, I coloured him with Copics and fussy cut. Not sure what is up with the printer but it's not doing it properly, printing that is, so I went back with a black fine liner and neatened him up!
On a panel of white card I used a Sizzix EF to create my background and before adding it to my A6 base card, I added a couple of strips of scrap DP to the top and bottom. James and the sentiment, also LOTV, were added to complete.
So where will the theme take you? CAS is a great way to go for a masculine card as you can get away without adding any frippery that you might be tempted to add on a feminine card. Share it in our gallery and if you need more inspiration, check out the rest of the team here.
Joining in over at:-


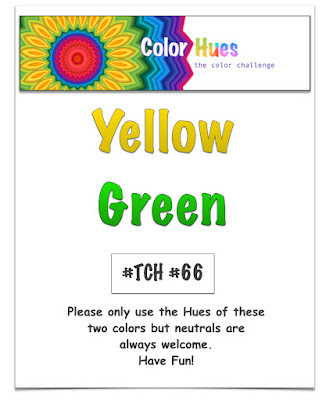
Dads and/or Lads


.png)