Showing posts with label Bee Happy. Show all posts

Thursday, 23 April 2026

Uniko FB VIP Challenge Reminder

This months Uniko FB VIP Challenge is all about GEOMETRICS. Here is a design I came up with using some of the smaller stamps from lots of different sets and the Postage Die set from Waffle Flower.


I found a ready cut panel of white card in the die packaging, so used that to create my design. The stencil which comes with it was used for ease but I could have easily masked off each section before I added the background inking and stamping.
Each of my rectangles was inked with DI, either Salty Ocean, Peacock Feathers or Twisted Citron, then with the masking still in place, the stamp detail was added with the same ink. I used BB Pinstripe, BB Triangulate, Bee Happy, Balloon Bash, BB MOD Circle Builder and Uniko Style stamp sets
Finally all masking was removed and the sentiment stamped. Birthday and Christmas Sentiments and a few small silver die cut dots complete. The panel was matted onto some black card and then on pads onto a 5 x 7ich white base card.

There are lots of fab Uniko geometric themed stamps and stencils to use, if you don't have any, think outside the box. Looking forward to seeing all your different geometric designs in the FB VIP gallery!


Joining in over at:-

Saturday, 29 June 2024

Uniko June Release Day Blog hop and Giveaway

Good morning.
It's release day at Uniko so as is tradition we are having a Blog Hop and Giveaway!!!
First of all though I have a few more ideas for the new stamps and stencil.

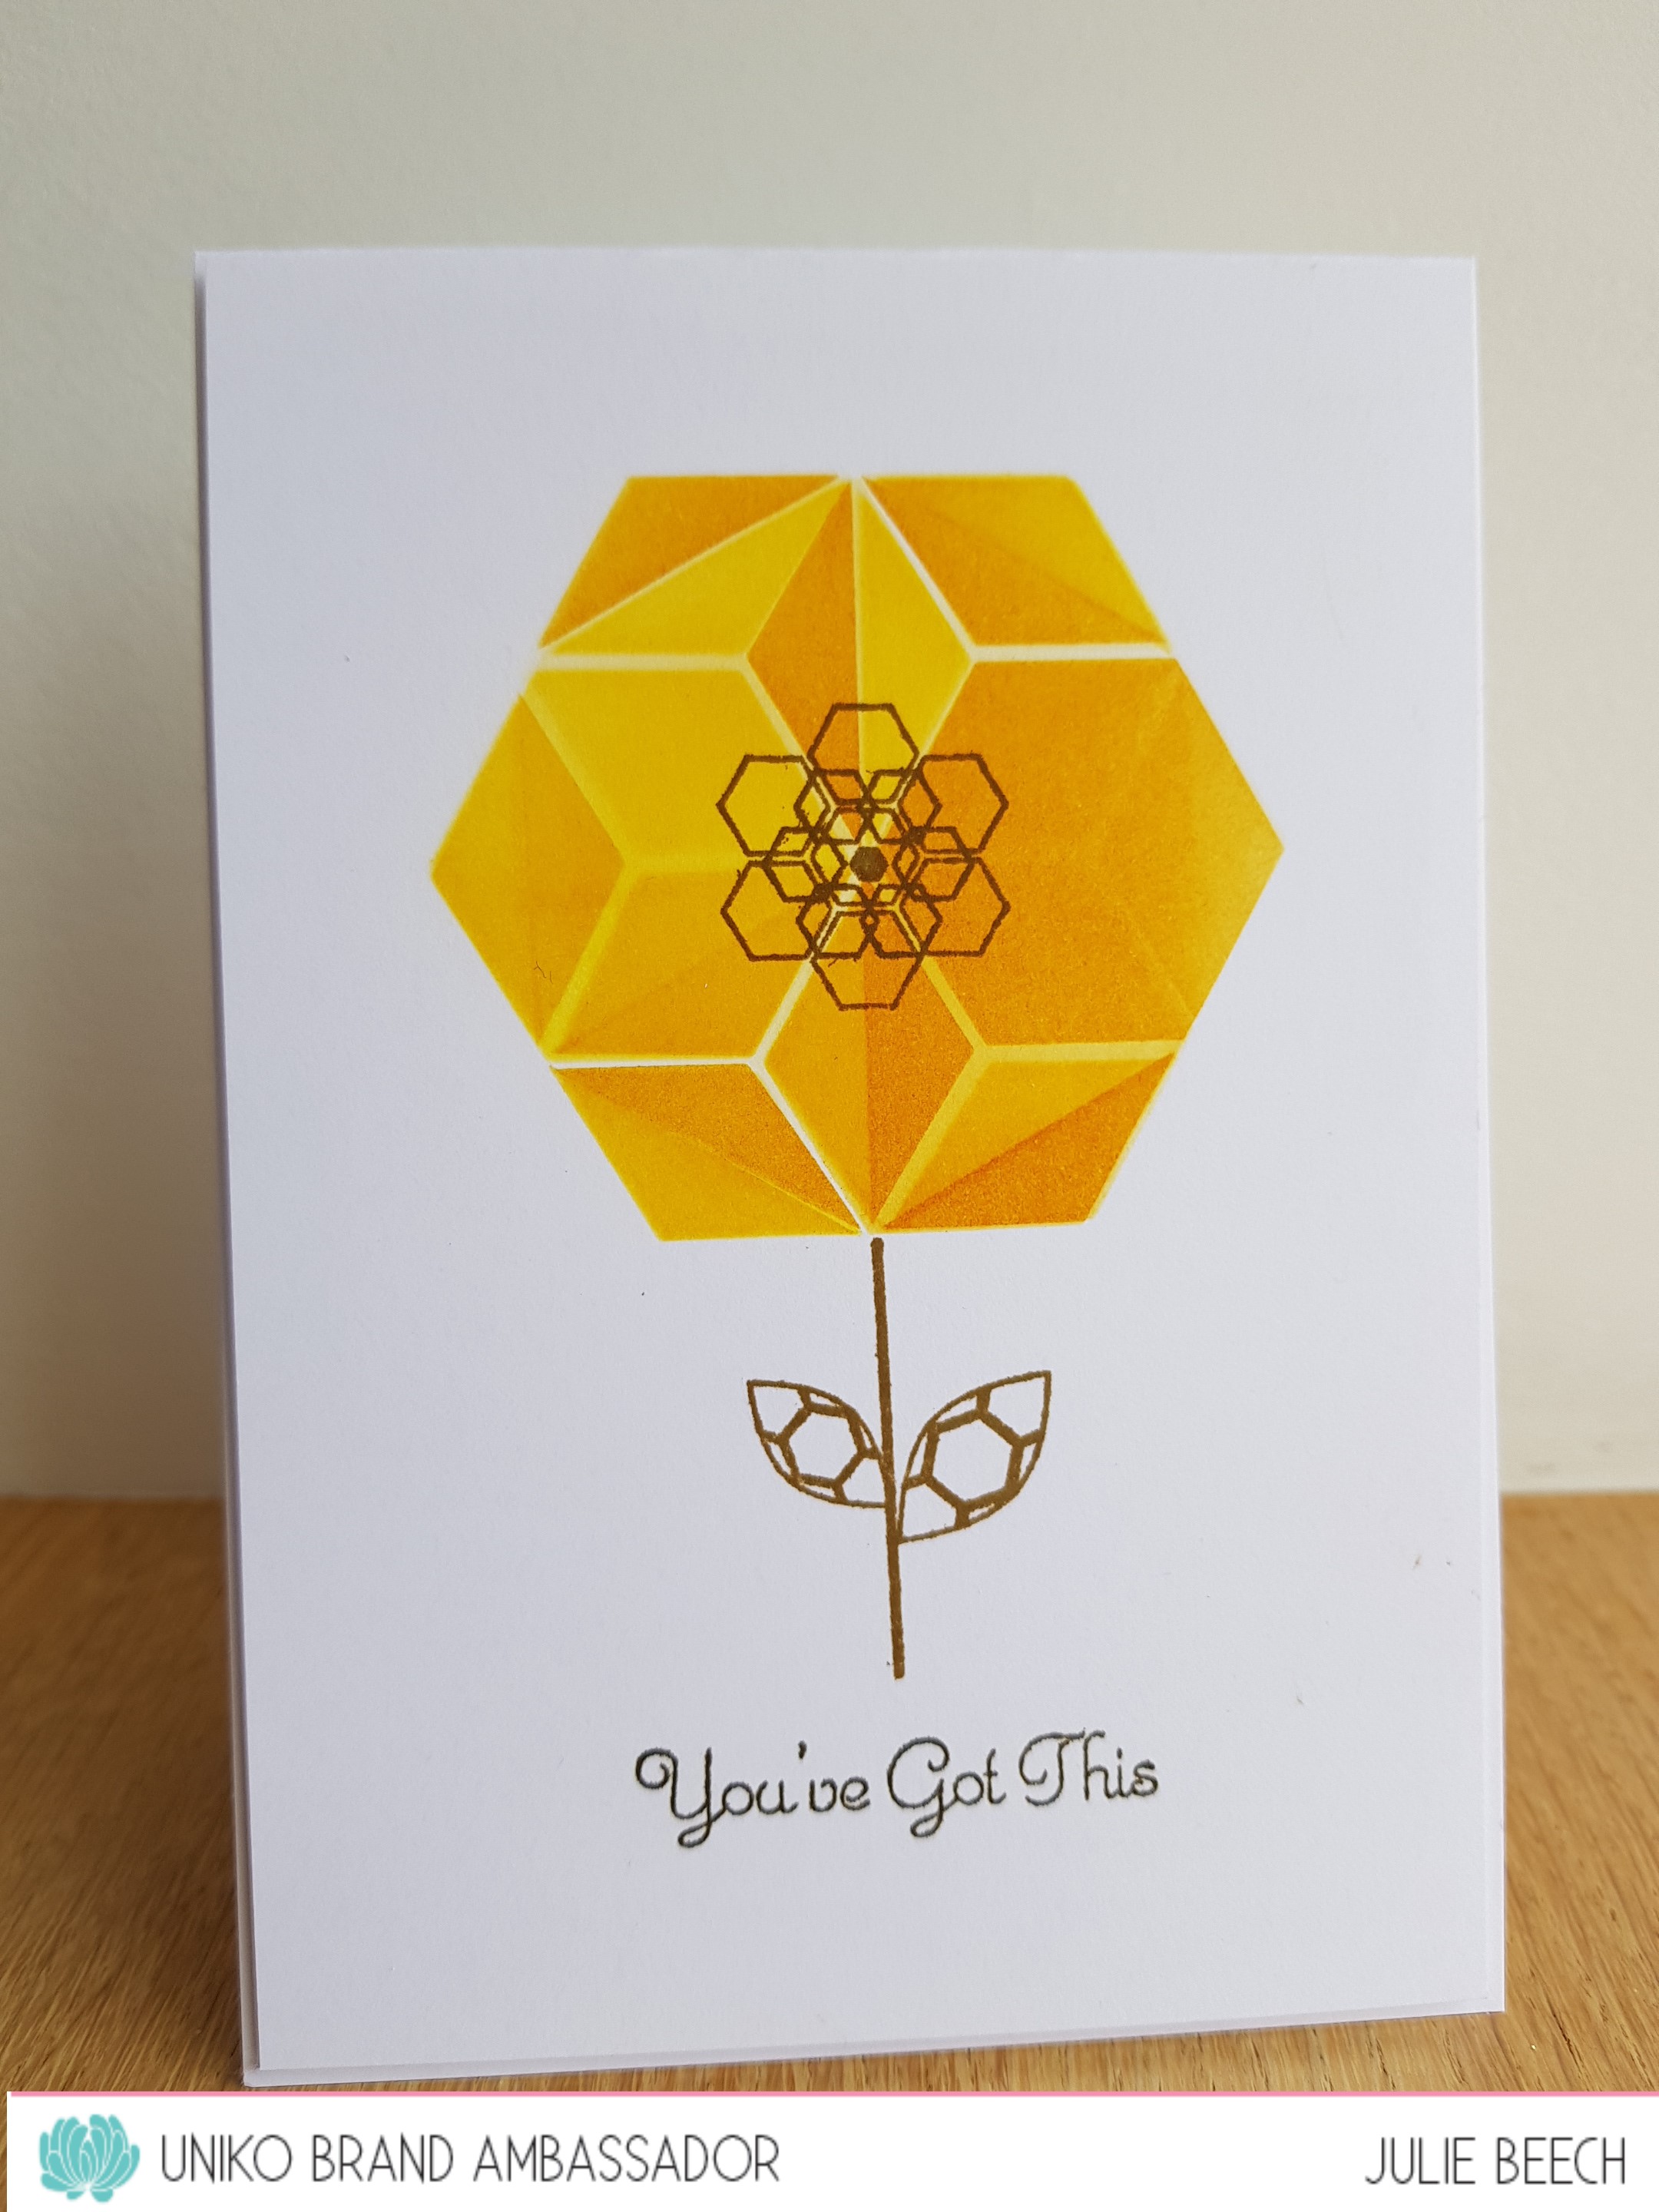
My first uses the Ink and Flip Hexagon combined with an old Scattered Polka Hexagons stencil, Flower Power #9, Bee Happy and Organically Zesty stamps.


In my intro card, I used the magic reveal technique but this time I tried the double stencil technique.
On my A6 panel, I used Mustard Seed DI to ink through the background part of the ink n flip stencil then whilst the stencil was still in place, I inked through the polka hexagon one with Wild Honey DI. I removed both stencils, cleaned them then flipped the hexagon background over and inked through with the Mustard Seed DI, then with the Polka Hexagon stencil with Wild Honey.
This gave a white central hexagon in the center of the panel which I then filled with the 2nd part of the stencil set. I used the same inks, inking and then flipping to create a central hexagon. I also went back and inked a 3rd and 4th time, turning the stencil 90' before inking and flipping.
On a die cut brown hexagon, I stamped the sentiment from Organically Zesty with Versamark and heat embossed with gold EP. More of my no line bees were added to complete.

This second card uses the same technique for the inner hexagon but I omitted the background stencil.


The stem and 2 flower heads from Flower Power #9 were stamped in Memento Rich Cocoa, along with the sentiment.

I was really into the yellow and black theme when I made this next card using Flower Power #10.


I simply stamped and masked a row of blooms in black on white card, added it to a panel of yellow card, stamping the sentiment from Flower Power #2 and adding a strip of black card to finish.

Finally, this a card made by rescuing a disaster!!


I tried to stamp a rainbow by masking and stamping with DIs, Mustard Seed, Picked Raspberry and Salty Ocean, the overlaps create the green, purple and orange! Well all was going well when instead of removing the masking paper I closed the MISTI and stamped, transferring ink to the pristine white card where I didn't want it!!! So I chucked the failed project to one side and went to do something in the garden instead! 
When I returned, I was staring at the failed panel when I thought I could resurrect it by trimming the inky mess away. When I laid it onto some black card I liked the look so this is the end result, stamped with a simple sentiment from Flower Power #5 and heat embossed with white EP.

So now to the blog hop and GIVEAWAY. Hop along to each of the team, leave a comment before midnight Sunday 7th July 2024 and Bev will randomly select a winner to receive the WHOLE release.

  Anita


Julie -that's me


Happy Hopping!

All the products the Uniko Brand Ambassadors and Bev have been showcasing this week are now available HERE on the BRAND NEW Uniko website.

Joining in over at:-

Tuesday, 25 June 2024

Introducing Ink n Flip Hexagon Stencil

Good morning. It's day 1 of the introductions for the June release from Uniko!
Today we are sharing our ideas using another from the Ink n Flip stencil range, here's my take.


I've combined a couple of the older hexagon themed sets, Bee Happy and Background Builders Happy  Hexagons to use with the new stencil.
First on a panel of white card, I stamped a repeat pattern in white pigment ink using the outline hexagon strips from Happy Hexagons and left it overnight to dry before using the stencil over the top with a mix of Mustard Seed and Wild Honey DI with the first part of the stencil. The white ink traps the colour and magically appears! On some scrap white I inked the second inner stencil with the same colours and cut it out, adding it to my base with foam pads. 
The sentiment is a hexagon cut from brown/black card and heat embossed with the sentiment from Bee Happy in white before adding a fussy cut bee from the same set. I stamped quite a few of these for use later, with Altenew limestone ink for a no line effect, colouring with Copics.

So that's all from me for today but I'll be back tomorrow with an other introduction, but why not check out the rest of the BAs to see what they've been up to.

Joining in over at:-

Blooms, Bees and Butterflies

Wednesday, 27 July 2022

Introducing - Tropical Leaf #2 Stencil

Good morning. It's the second day of introducing the new mini release from Uniko.
Today we are showing the second of the Tropical Leaf stencil series, a huge Monstera leaf. Here's how I used it, combing it with the hibiscus flowers from the Paradise set.


I first taped the stencil down over a panel of white card and stamped the solid flowers through it, adding the stigma and leaves after. I washed and dried the stencil then replaced it and added Versamark with a sponge applicator before heat embossing with clear gloss EP. I was now able to add the background colour without it effecting the stamped elements. For a belt and braces approach I also used the mask which comes with the stencil. If you are very careful, I suppose you could get away with just using the mask.
I wanted to have tropical greenery background so used as election of DOx and DI inks to avoid a flat, solid background.
To make the card, I simply cut down the panel, added it to an A6 white note card, added a pre stamped sentiment from my stash (Beautiful and Bee Happy), with a couple of slivers of gold linen effect card.

So that's all for today, but there's lots more over on the BA's and Uniko blogs.
I'll be back tomorrow with the final introduction.

Friday, 21 May 2021

Uniko Challenge

 Morning all, it's time for a brand new challenge over at Uniko. Here's my take on the theme.


For my design I used the fab Pure Florals Gerbera daisy outline stamp in Altenew's Industrial Diamond ink, to create an all over background and then die cut 3 circles to create a spotlight effect. The Copic coloured sections were popped up on matching white fun foam circles. 
Using Copic alcohol markers for colouring is my go to method, love the variety of bright colours and the way they blend together. I have tried other alcohol markers, Promarkers and the Altenew ones but always revert back to my Copics. 
A sentiment strip from my stash, made up of a couple of sentiments from two different sets, Beautiful and Bee Happy that I used here was added to complete. As it takes a bit of time to get the layout of the words right, I stamped a few in different inks and embossing colours on both black and white strips for use later, this one is Platinum WOW on black.
The finished panel was trimmed to reveal a border when added to an A6 note card.
Please check out the rest of the team on the Uniko blog, as well as our fab GD Elaine.
You'll also find all the Ts and Cs there as well.
Thanks for stopping by.

Joining in over at:-

Favourite colouring medium

Friday, 21 February 2020

Introducing Spring Botanicals Tulips

Morning all.
We are rattling through the introductions of the new release from Uniko.
Today we introduce another member of the Spring Botanicals, Tulip.
This is a lovely bold image, perfect for colouring in what ever medium you prefer. I chose to use a no line watercolour technique for my card.


I stamped the large flowers with Altenew Limestone ink onto mixed media paper and then used a mixture of Seedless Preserve and Dusky Concord DI and Altenew's Evergreen, Forest Glade and Frayed Leaf to watercolour the flowers and leaves. I had a snippet of NitWits paper that I wanted to use so that really dictated the colour choice for the blooms.
On an A6 base card, I added the DP down one side then my trimmed down watercoloured panel. 
I made my sentiment from a few stamp sets, one black straight onto the w/c panel the other white heat embossed on black then up on pads. A few sequins complete.

For more BA inspiration check out the links below.

Jane 
Julie - That's me
Linda
Sarah P

Joining in over at:-


Sunday, 6 May 2018

Day 2, Honeycomb

It's day 2 of the new May release from Uniko.
Today we are all honey sweet!
Here's my inspiration for you using the new Honeycomb stencil.


I didn't want to go down the traditional honey bee route so went with a more masculine treatment, 
playing with a technique I'd seen on YouTube by Jennifer McGuire here, using dark card and white pigment ink with a stencil.
The base panel was a rich blue piece of card and the dark blue ink DI, Chipped Sapphire, with a white pigment ink. My die cut sentiment cut from the same blue card and the rest of the sentiment from Pure Florals Cosmos was stamped on a white card circle in dark blue ink. A larger die cut circle of vellum softens the edges. The trimmed panel was placed on a white base card.


I din't use the Bee Happy stamp for this, just the stencil.

Check out the rest of the DT for more inspiration.

Jane 
Julie - that's me
Linda

Joining in over at:-

Thanks for suggesting this Carol! 2nd entry