Hi and welcome to a post that I have been dying to share for a few weeks now.
I was approached earlier in the year to join the brand new stencil design team over at Uniko and just jumped at the idea. I love the stamps that Bev has brought out and working with the new stencils alongside the rest of the
Uniko team was a no brainer.
For those who haven't been here before, you'll get an idea of my style and what to expect by checking out these posts on my blog,
here and
here.
This sums me up perfectly I think, clear, crisp, with nothing much added but a lot of different techniques!
I got my Dream Weaver standard embossing paste out for this and added some through the Wonky Stripes stencil onto a panel of white card, not being particularly neat about it. Just between you and me, I tried to be neat and tidy but it looked wrong, I got some bleed under the stencil and it didn't really show up against the white base.
The small outline rose and leaf were stamped and embossed with white EP, before washing in some colour using my Zig pens for the bloom and leaves.
A frame, die cut from silver textured card, was cut using a Spellbinders ornate frame and a simple square dies, the sentiment from the Gerbera set was stamped on a strip of black card, then embossed with more white EP and slipped under the bloom. The final panel was assembled then added to a plain white base card.
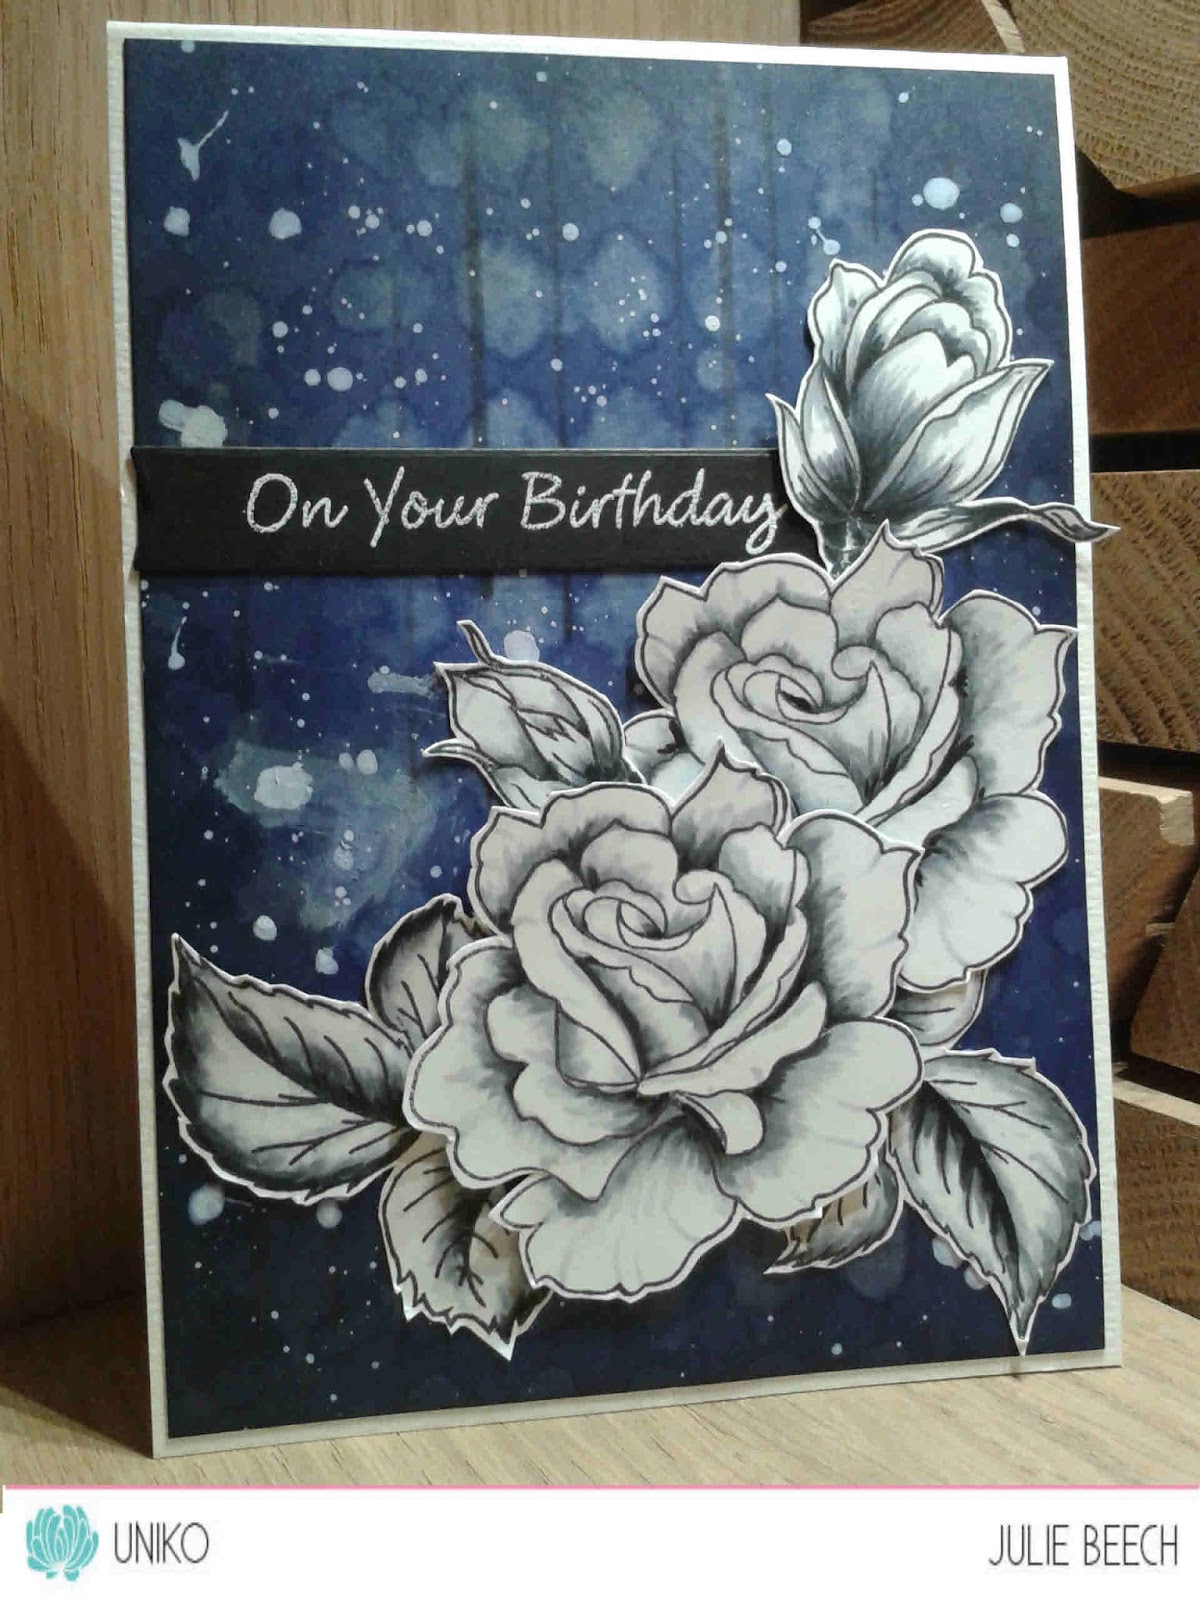
My second card uses the same rose set and two stencils but has a totally different look.
For this I was influenced by
this card, which I saw awhile ago on Pinterest and thought I could use as inspiration. I loved the contrast with the slightly grungy background and the monochromatic blooms.
The roses this time were stamped in black Momento then shaded with Copic pens, C10, C7, C5, C3, C2 and the blender pen, before fussy cutting them out.
My background panel was created by inking with two DIs, Blueprint Sketch and Chipped Sapphire.
I then placed the Lattice stencil over and spritzed it with water, dabbing the excess away, leaving the water to bleach away the DI exposed. I wasn't too bothered about a crisp look so it didn't matter if the water bled under the stencil. After a few minutes I removed the stencil and dabbed the panel with a piece of kitchen roll to remove the water and ink, then added some more of the Chipped Sapphire through the stencil towards the edges and some splats of watered down white emulsion paint. You know the stuff you get in tester pots from the DIY store, it makes a fab substitute for acrylic paint! Some of the splashes take on a blue hue as the water reacts with the DI. I really should have stopped there but went on to add some Black Soot DI around the edges and over the dry panel using the Broken Lines stencil. The fussy cut roses were arranged to create a pleasing bouquet and then I added a black with white embossing sentiment strip. My trimmed panel was placed on a white base card, voila!
So that's it for my first official Uniko post, I can't wait to start work with the rest of the fab team over at
Uniko. Thanks Bev for the opportunity to be on the DT. Hoping for a long and fruitful collaboration with fellow stencil DT members
Sarah G,
Linda and
Wiebke, as well as the rest of the girls at
Uniko.
Hope you've been inspired to look at stencils in a new way!
Joining in over at:-
Using a stamped banner to add a sentiment allows you to make the odd mistake and not ruin a card, I've had too many last minute boobs, even if I do now have a MISTI to help overcome that!
Love hearts and Flowers